Making way for a tool shed

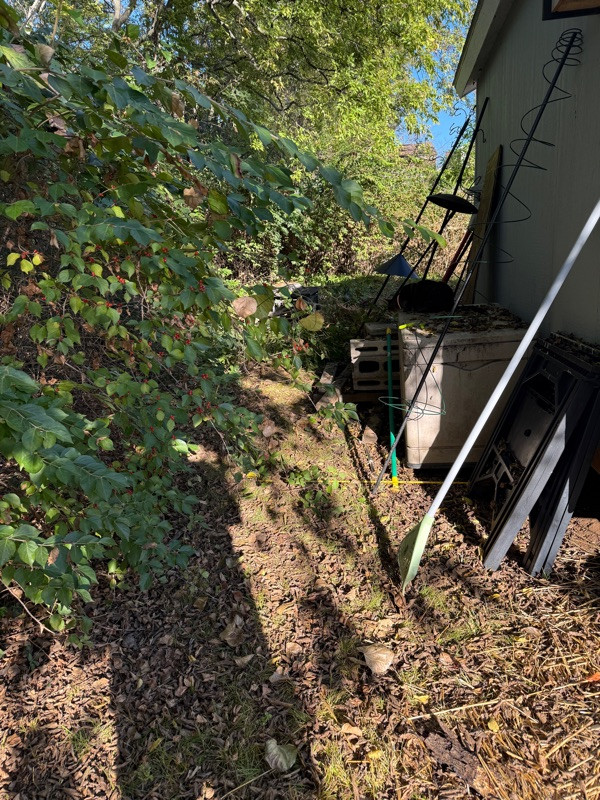
The area behind my husband’s art studio will be transformed into a space for a 4 × 6 tool shed and rain barrel area. Because this part of the yard is on a slope, I’m going to learn how to build a proper concrete pad from the ground up. With ChatGPT guiding me through the process, I’ll construct a 4 × 6 concrete pad with anchors so the tool shed can be securely tied down.

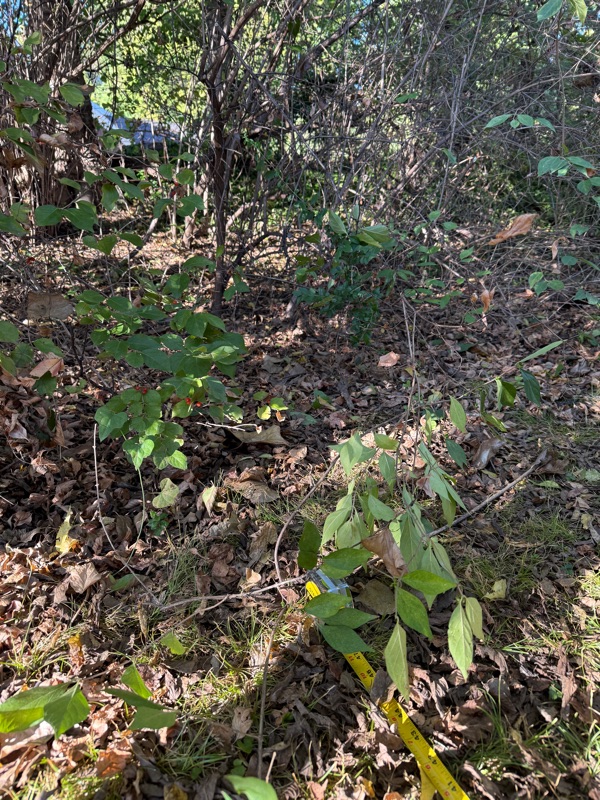
I’ll also be clearing some of the brush behind and around this area, but I don’t want to clear everything. I’ll stop at a defined line and use that as the beginning of a woodland garden. That area will be planted with appropriate woodland wildflowers, grasses, and other plants while still keeping a natural appearance.

Beyond the woodland garden, I’m leaving an area completely wild. I’ll add some of the brush and branches I remove from elsewhere in the yard and then simply let nature take over. I also plan to place some concrete blocks among the brush and wooded areas to create additional hiding places and habitat for frogs, insects, and other small critters.

The goal isn’t to clean up the entire area—it’s to create a gradual transition from the organized tool shed and rain barrel area, to a planted woodland garden, and finally into a genuinely wild space for wildlife.

So much accomplished

​

I got so much accomplished today.  I dug holes and planted both peach trees and both tiny fig trees.  I installed Vego’s mesh 3×5 cover system on a non-Vego 2×4 raised bed and it’s fits great.  My fence came right as it was almost too dark to work but I got the area around the Mulberry tree fenced off. Bi see the groundhog was at it again, hopefully this will work.  

More flower seeds have arrived

​

Just waiting on a few more seeds to arrive then I can be planting the permanent flower garden.  I need to pick up more soil at Home Depot because apparently I can never have enough soil. 

Planted the Greens Bed

​

Got the main garden bed planted today after we got back from kayaking. It’s really hard to reach the back of the bed, but I managed! The rampion seeds were unbelievably tiny, I don’t think I’ve ever seen seeds that small. They’re smaller than a grain of sand.

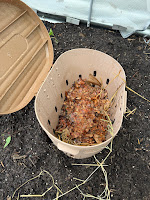
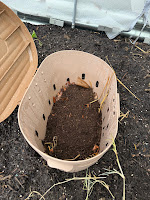
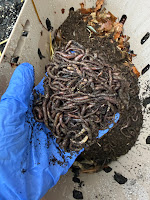
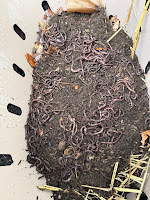
I also noticed that the worms have spread everywhere throughout the garden bed. Every time I dig into the soil and pick up a handful, there are worms in it. It’s amazing! I hope that means they’re happy and settling in well. I put half a tomato in each composter so they’d have something to eat.


Groundhog likes the Mulberry tree

​

He ate most of the leaves off the mulberry tree.  I planted it and put netting over it, I have fencing arriving soon.

The Trees/ Bushes have arrived

​

Both peach trees, the Mulberry, bush, and the raspberry bush arrived today. They all look fantastic.  I still have two fig trees that need to arrive. And then I need to figure out where everybody is going to live.

Seeding Square


Apparently eyeballing where seeds should go is no longer good enough for me.

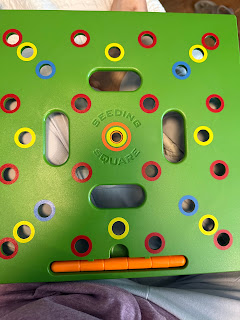
I bought a Seeding Square.

It’s basically a square-foot gardening template with color-coded holes that tells me exactly where to plant seeds depending on how much spacing each plant needs. You lay it on top of the soil, poke the little dibber through the correct holes, and drop your seeds in.

Do I technically need this? Probably not.

Do I absolutely love the idea of perfectly spaced little rows of carrots, radishes, beets and everything else? Yes.

I’m planning to use square-foot-style planting in the raised beds so I can fit quite a bit into a relatively small space without just scattering seeds everywhere and hoping I remember what I did later. This should also make it much easier to document exactly what I planted and where—which is becoming increasingly important as the number of seeds in my house continue to multiply.

It came with the planting guide showing which color to use for different spacing. So instead of standing over the bed wondering, Was this supposed to be three inches apart? Four? Six?, I can just use the appropriate colored holes and be done with it.

This garden started because I wanted some greens.

I now own specialized equipment for making geometrically precise holes in dirt.

Seems reasonable.

Worm Composter


The worm composters arrived today!

I went with two Vego in-bed worm composters, and my first impression was that these things are MUCH more substantial than I expected. They are heavy, solid, and very well made. Vego isn’t exactly inexpensive, but so far I have been really impressed with the quality of everything I’ve gotten from them.

Naturally, before they could go anywhere near the garden, they had to be unpacked and laid across my bed for inspection by Beebs (the cat) and photographs.

You’re welcome.

These will eventually be installed directly into the 8×4 greens bed.  The idea is that kitchen scraps and other compostable material go into the towers, the worms do their thing, and then travel through the openings into the surrounding soil, carrying nutrients with them.  I’m new to all this, including worm composting.  

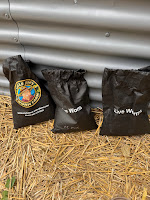
The actual worms are on their way: red composting worms and European nightcrawlers. Once the towers are installed, I’ll build up their bedding and get everything ready for the new residents.  I bought the worms from Uncle Jim’s Worms.